Isometric tools
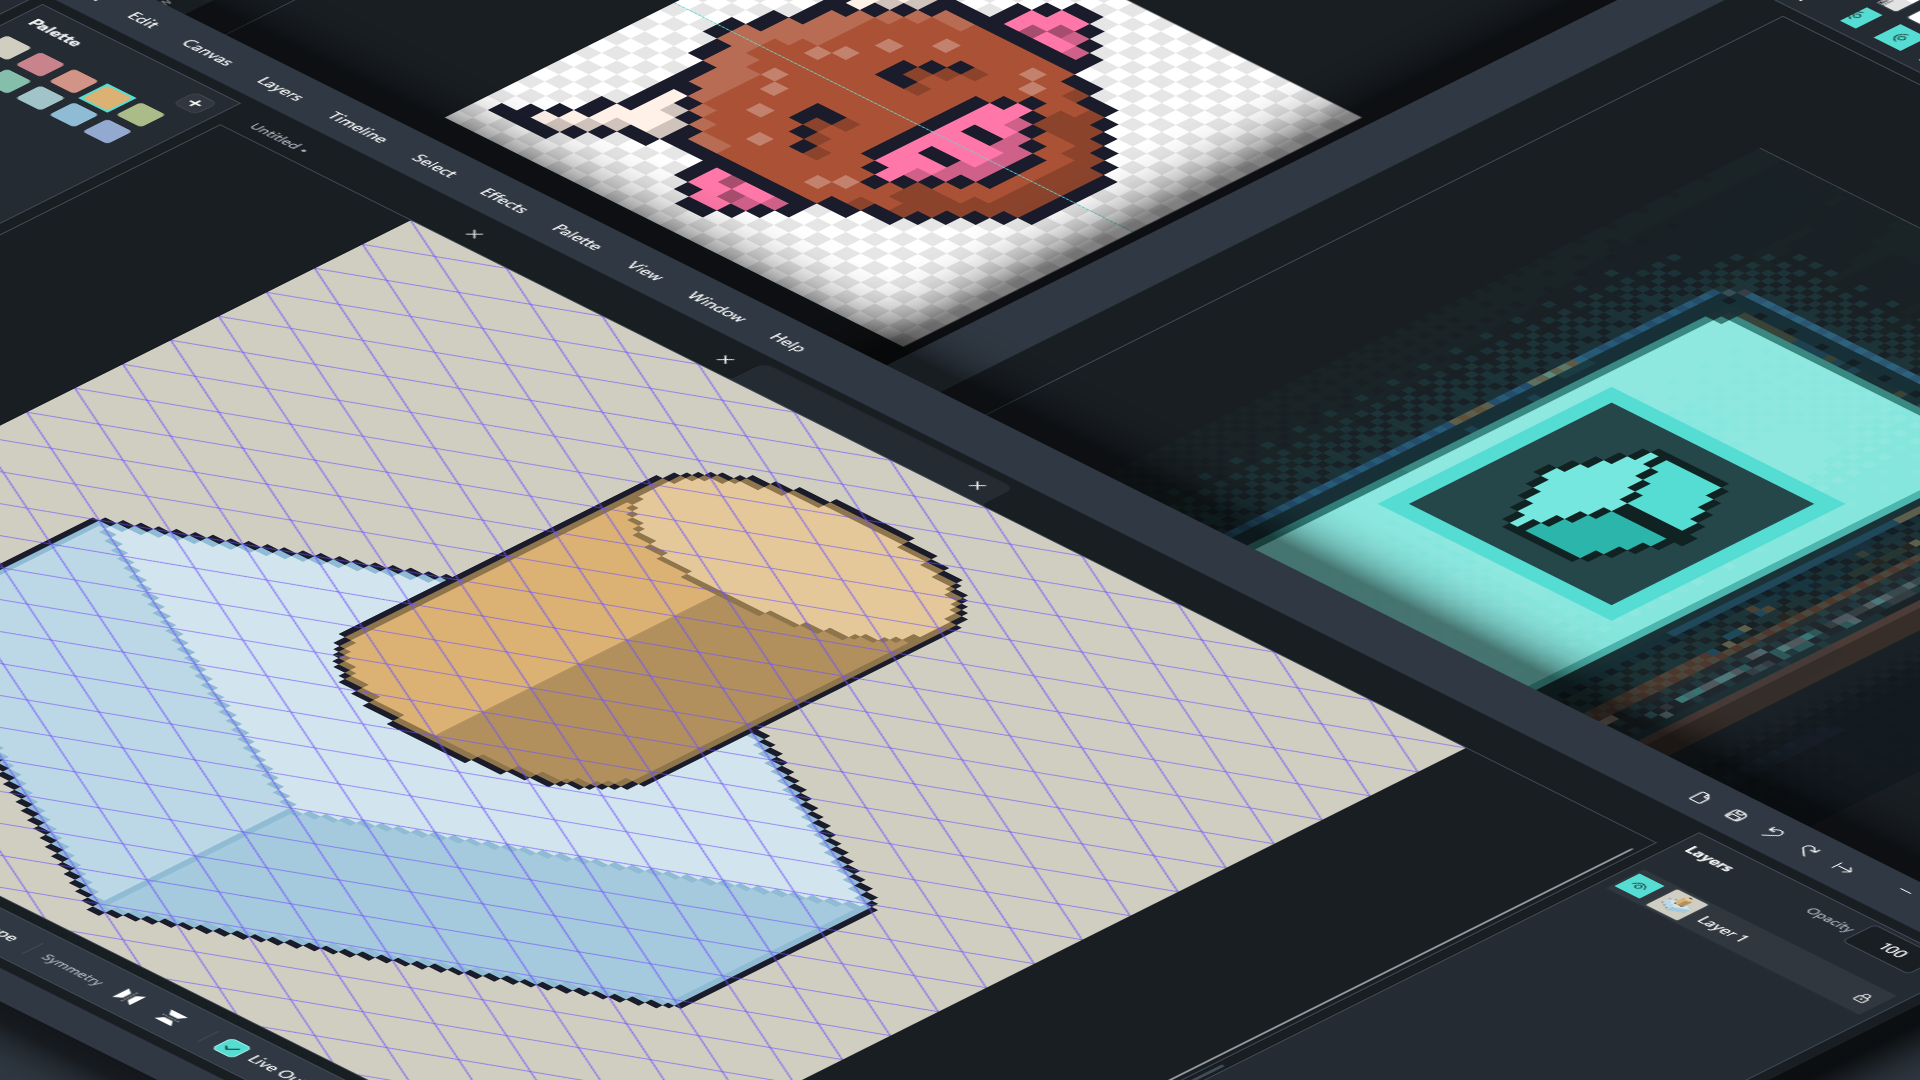
Rastrivo Studio has isometric pixel art built in: a 2:1 grid, lines that snap to iso angles, shapes that lie flat on walls and floors, and shaded cubes and cylinders in one drag.
1. Turn on the isometric grid
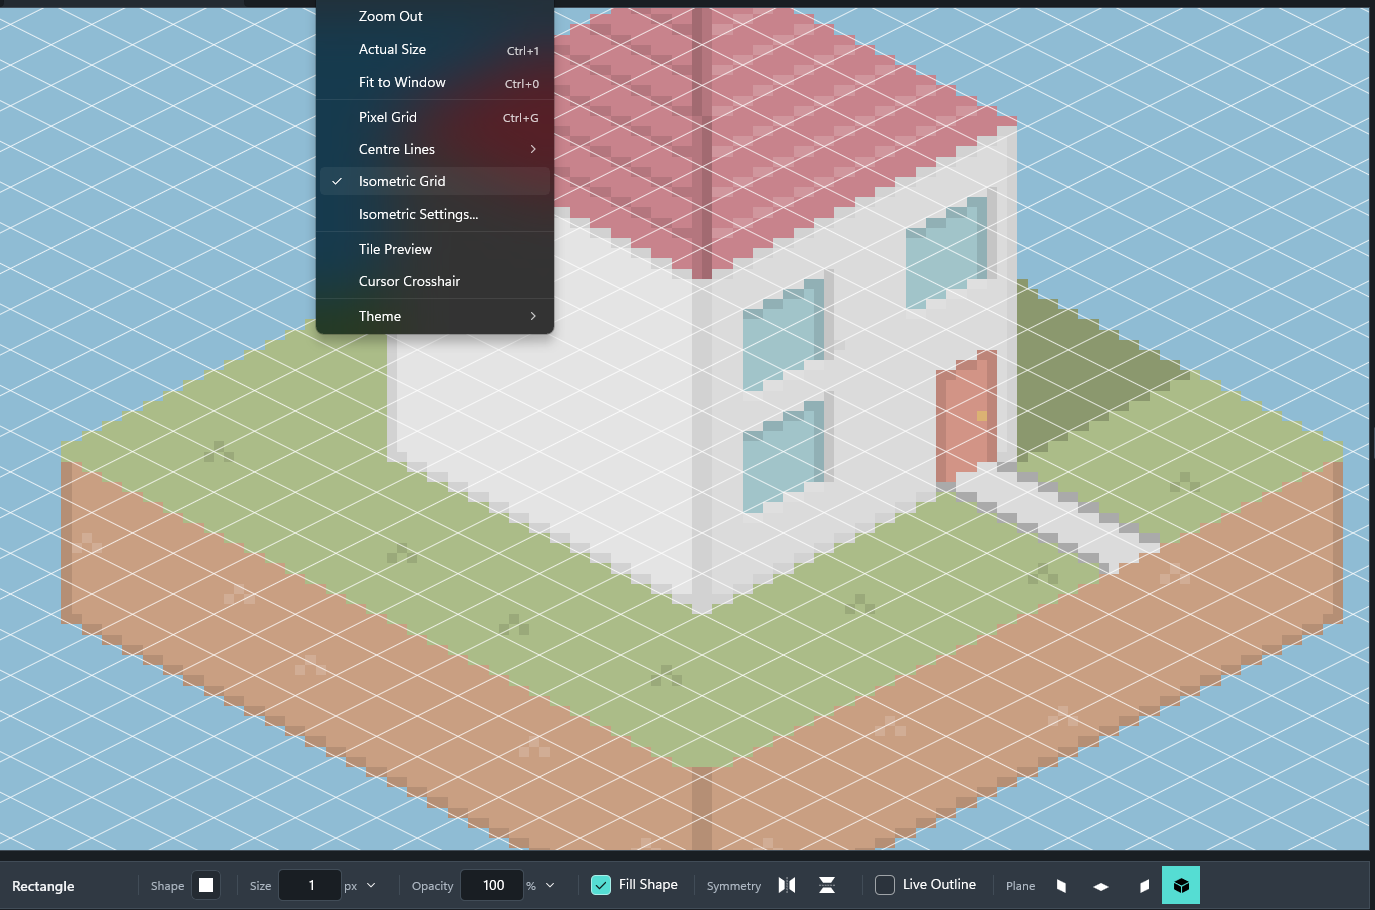
Choose View → Isometric Grid. The grid is drawn over the canvas and isn’t part of your art, so it never shows up in exports.
The iso tools below only work while the grid is on. Turn it off and the Line, Rectangle and Ellipse tools go back to normal.
To change the grid, choose View → Isometric Settings…:
- Tile width sets the size of each diamond. Tiles are twice as wide as they are tall, the classic 2:1 pixel art ratio.
- Grid colour lets you pick a colour (and transparency) that’s easy to see against your art.
- Snap shapes to grid makes cubes and cylinders snap to whole grid steps, so they line up with each other.
2. Draw iso lines
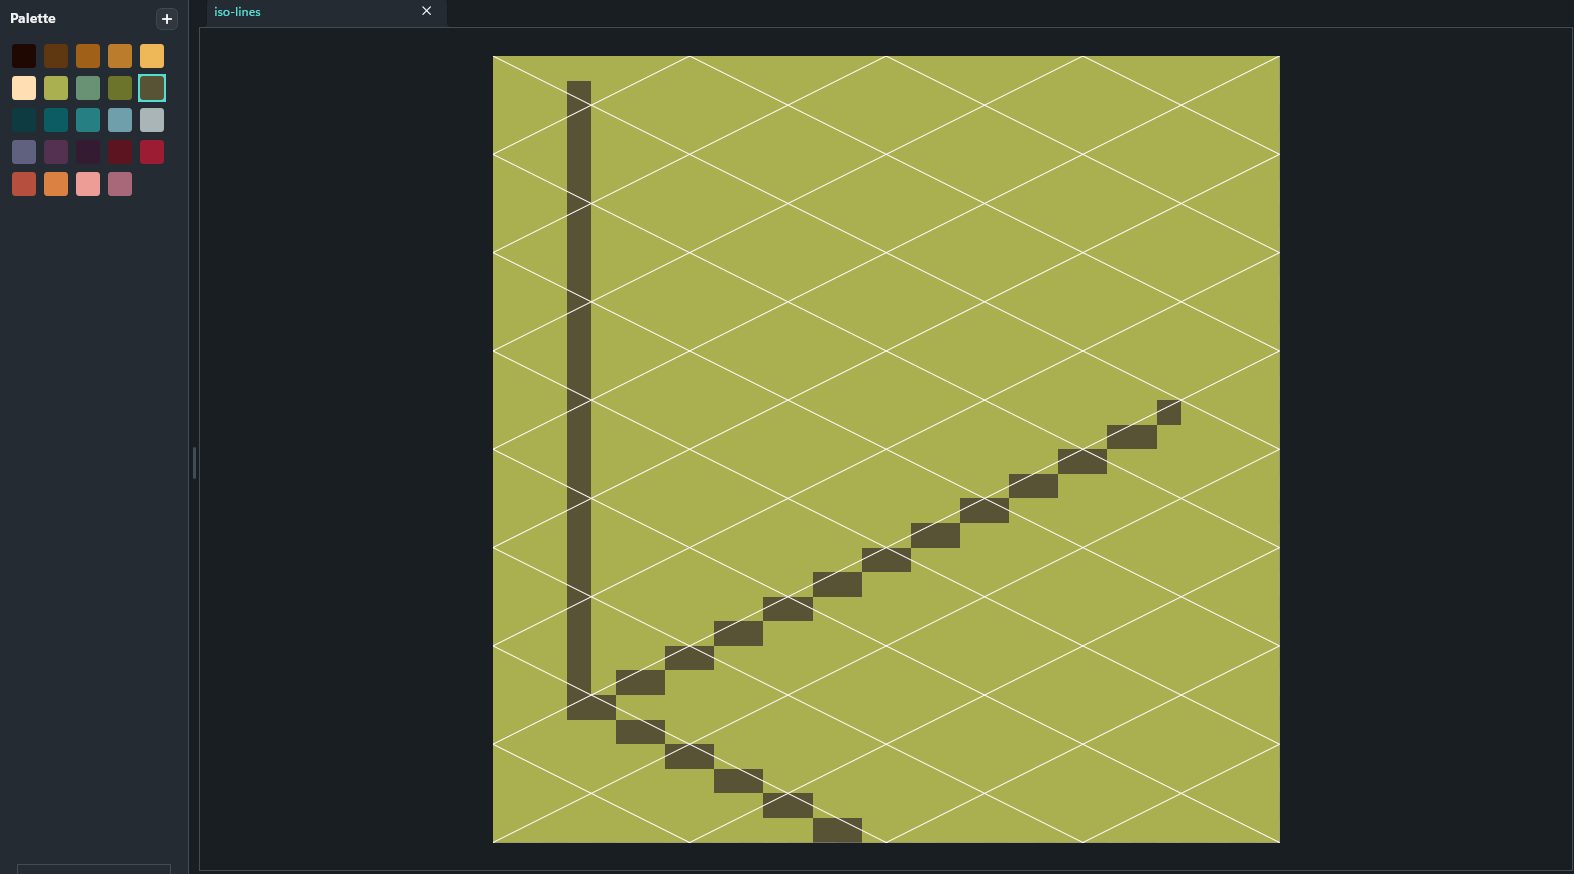
With the grid on, the Line tool draws clean 2:1 lines: two pixels across for every pixel up or down, with no stray pixels. Drag mostly up or down and you get a straight vertical line instead, for the edges of walls.
Hold Shift while dragging to lock the line to the iso angles.
3. Draw on walls and floors
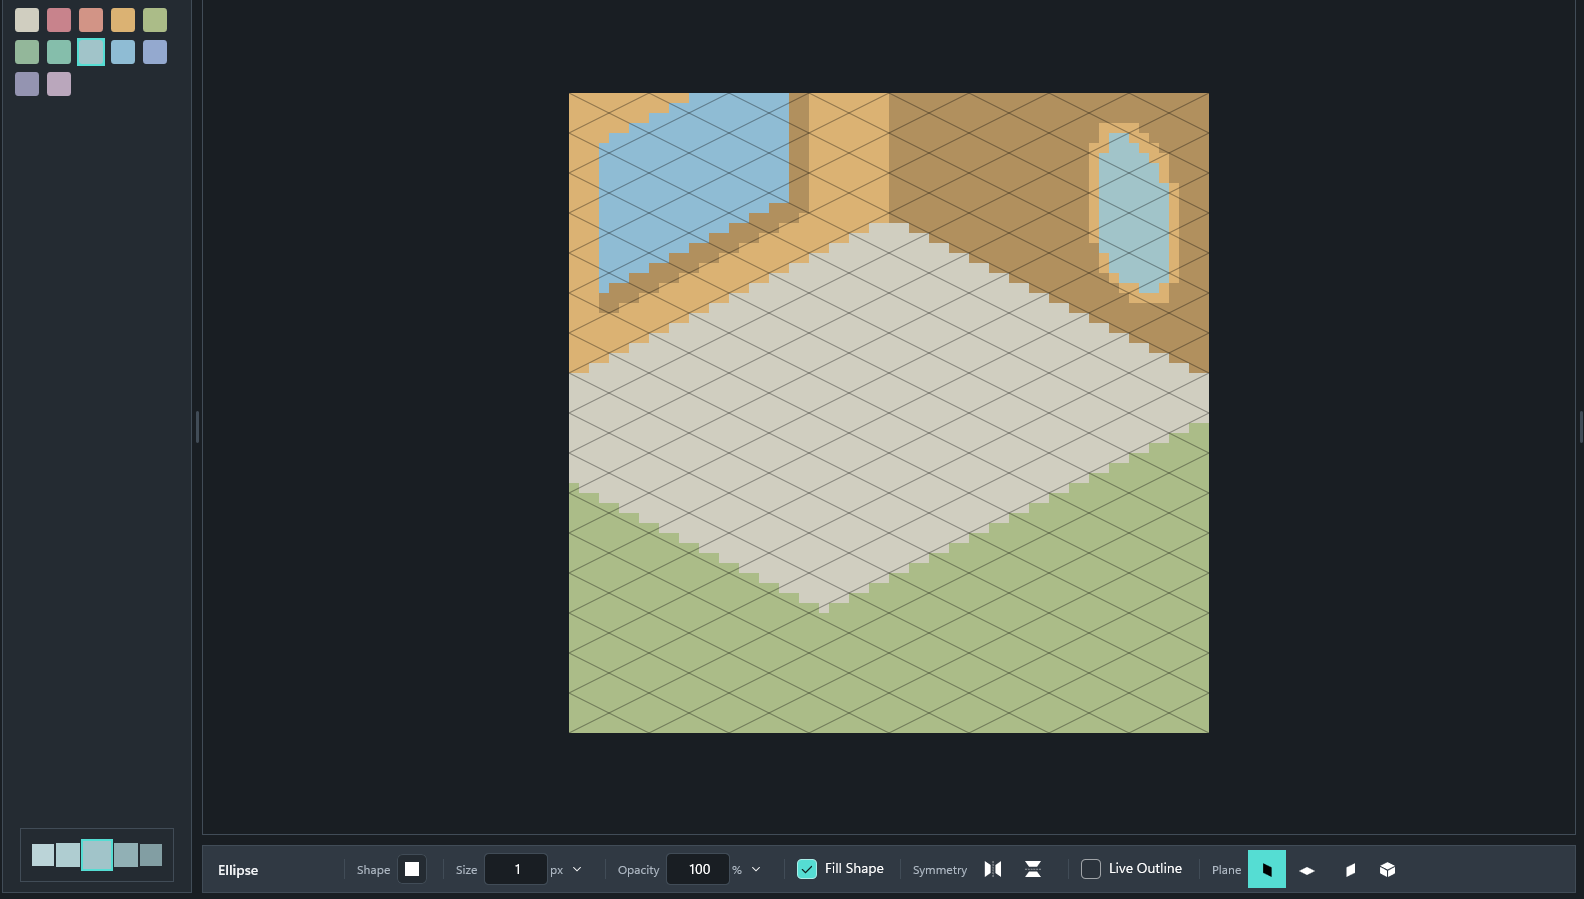
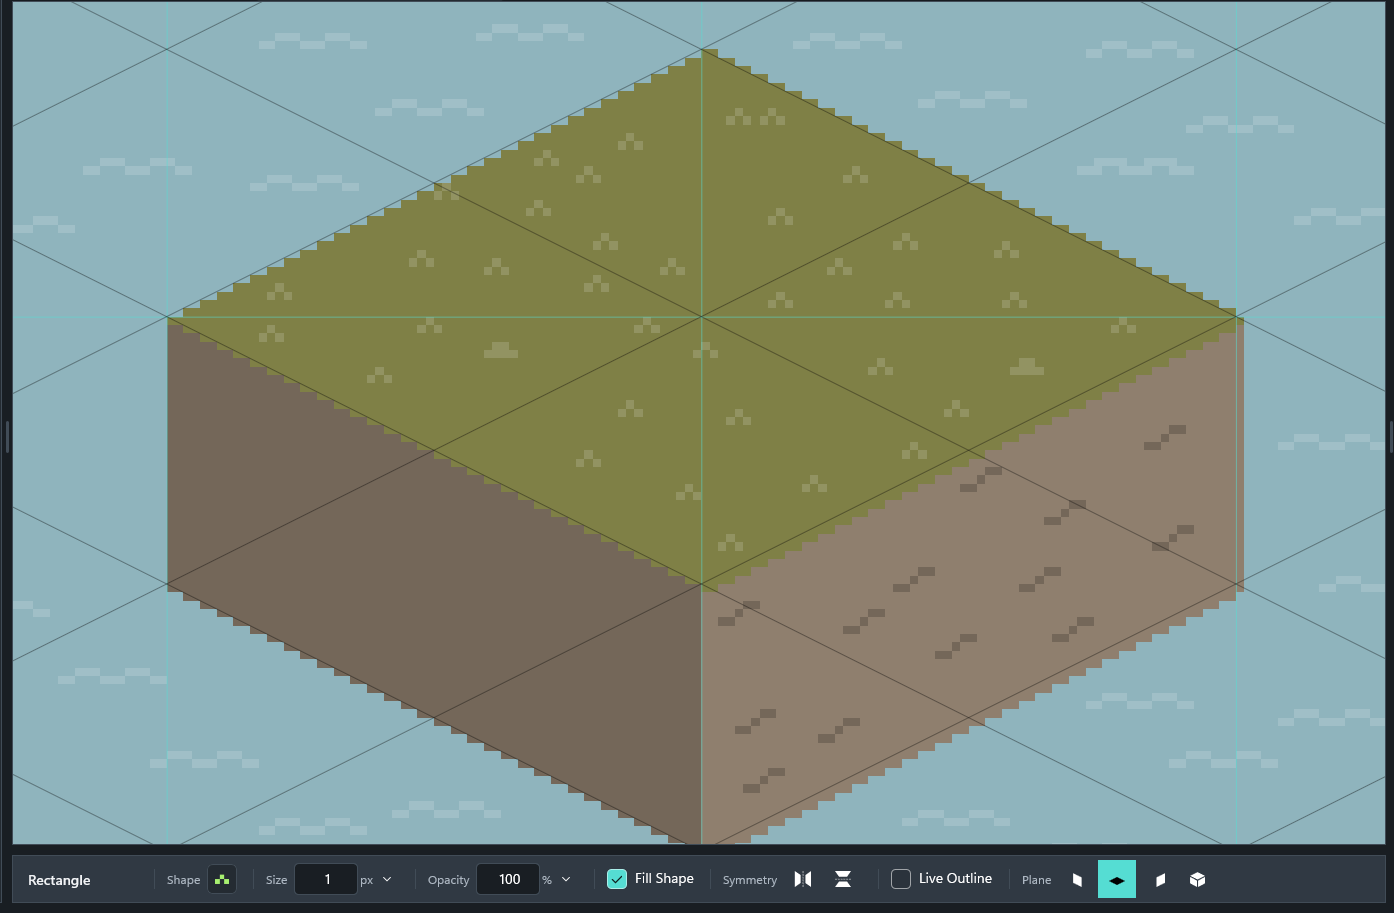
Pick the Rectangle or Ellipse tool. With the grid on, a Plane option appears in the options bar:
- Floor: shapes lie flat, like tiles on the ground.
- Left wall and Right wall: shapes stand upright on either side, for windows, doors and signs.
Drag as normal and the rectangle or ellipse is drawn in perspective on that plane. Tick Fill Shape to fill it with your colour.
4. Cubes and cylinders in one drag
Set Plane to Box. Now the Rectangle tool draws a cube and the Ellipse tool draws a cylinder.
- Press where you want the top point of the shape.
- Drag sideways to set how wide it is.
- Drag further down to make the walls taller. Drag up instead to build the shape upwards from where you pressed.
- Let go to draw it. One Ctrl+Z undoes the whole shape.
Hold Shift for a perfect cube, with walls exactly as tall as the top is wide.
With Fill Shape ticked, the shape shades itself. The outline uses your current colour, and the three faces get lighter tints of it: the top is lightest, the left side is in between and the right side is darkest. Turn Fill Shape off for just the outline.
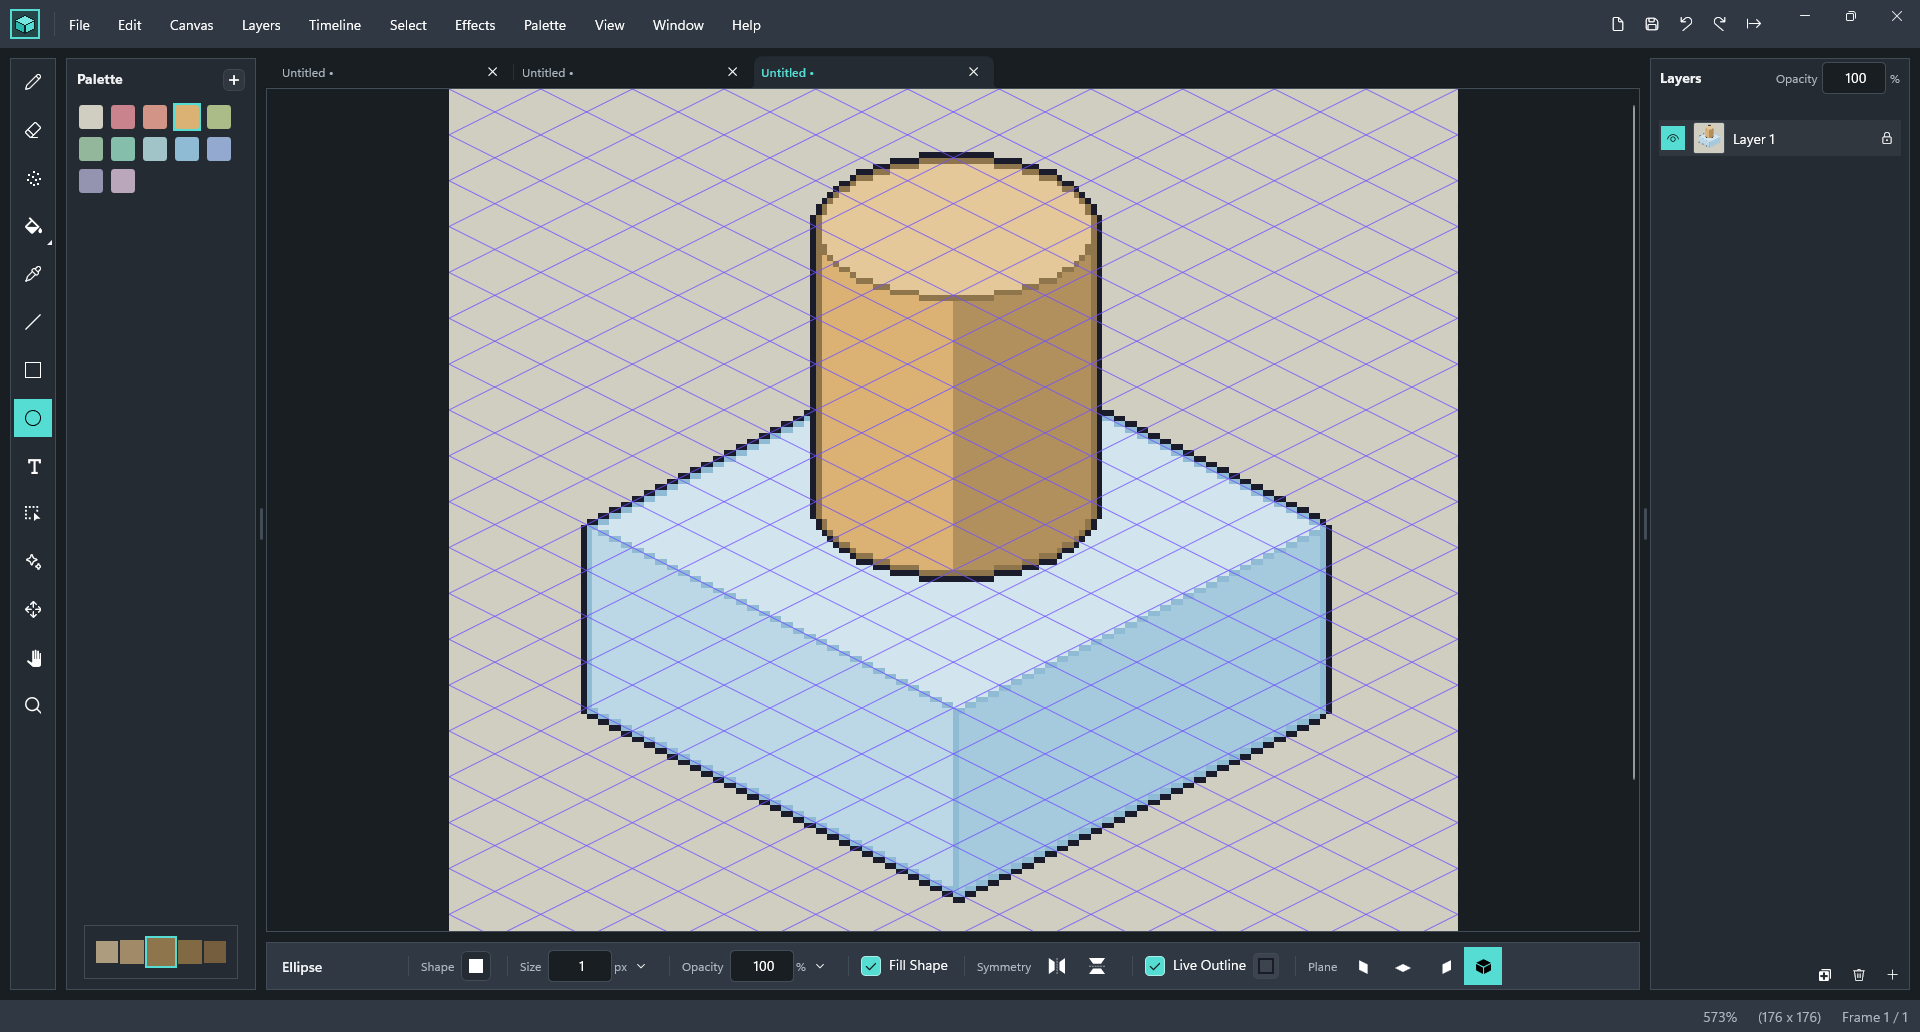
Tip: because the faces are lighter tints of your colour, pick a fairly dark, rich colour before you drag. A dark teal gives you a crisp outline and three clear shades. Very light colours leave the faces too close to white.
5. Isometric tile sheets
For game tiles, choose File → New Tile Map and set Orientation to Isometric. Enter the tile size and how many columns and rows you want, and Rastrivo Studio sets up a canvas with the tile grid drawn on it, so every tile lines up when you export the sheet as a PNG.
Quick reference
| Iso grid on or off | View → Isometric Grid |
|---|---|
| Grid size, colour, snapping | View → Isometric Settings… |
| Snap a line to iso angles | Shift + drag with the Line tool |
| Cube or cylinder | Plane → Box, then the Rectangle or Ellipse tool |
| Perfect cube | Shift + drag with Plane set to Box |
| All keyboard shortcuts | F1 |

Try every feature free for 30 days
No account, no watermark, no limits during the trial. If you love it, it’s a one-off purchase. No subscription, ever.